A common trait amongst all the woodworkers I know is that we store far too much leftover material from our projects over the years. A few years ago these bits were taking up far too much room, and many had sat for 20+ years unused, something had to be done. There wold be rules going forward on what gets kept and what goes in the burnbox - diligence would be my new regime.
So my new rules going forward would be to keep all bits of exotics, no matter how small, this material is harder to come by and worth the work to incorporate into projects. In my lifetime, materials that were easy to come by have virtually disappeared from mainstream availability. We are resorted to relying on connections to access these materials as they are released from the hoards of woodworkers out there. The other rule was for domestics, I would only keep reasonable sized pieces, knowing if I needed a small piece I could always make it without much trouble. So about 10 years ago I retroactively applied it to my hoard and sent boxes of bits of maple, cherry, pine, walnut and birch to the stove. Since that time I have been rather vigilant and have 3-4 burnboxes scattered around the shop to ensure these bits are collected and not saved.
Even larger pieces pile up after a while...
 |
| Some odd size Cherry offcuts from Rocking Chairs |
After several major projects such as rocking chairs, tables, bedroom and dining room sets, I had accumulated many bits of 2" material and larger offcuts of odd shapes that were starting to take over. A solution had to be found, so I put some thought into it and have come up with a couple of strategies to productively use this material. The first strategy to employ was came to be known by me as guerrilla segmenting.
 |
| And a box of Walnut from a Maloof Dining Set |
Serendipitous Segmenting
Many turners have used segmenting to build up a simple or complex designs, employing algebra, layout grids and micrometer adjusted sawcuts to achieve some magnificent results. I too have gone down this OCD road a few times in the past - well, what I am talking about here is nothing like that!
In the true spirit of letting the wood tell you want it wants to be, I started cutting up the odd shaped pieces of thicker material into various sized segments to be built into segment rings for eventual turning. I had a pretty good pile of random shaped 2" cherry from rocking chairs and went at it. Starting with a segment template for 12-section circles of various diameters, I marked them out on the scrap, to maximize the yield, not mixing up the sizes too much to ensure I had enough for complete circles.
 |
| Lots of segments, rings and finished pieces showing the variety of work possible. |
 |
| Gluing the halves into circles is the final stock prep step |
The two halves are now ready to be glued together using the same rub method on the table, and I often put a quik-grip on lightly to hold it snug. You now have a segmented ring ready for a turning project. I normally build rings of various sizes with an eye to a design for several bowls. I also ensure that I save material of the right size for the solid base pieces. For smaller bases <8" I will use one piece of wood, above 8" I will glue four quarters together to minimize cross-grain movement.
 |
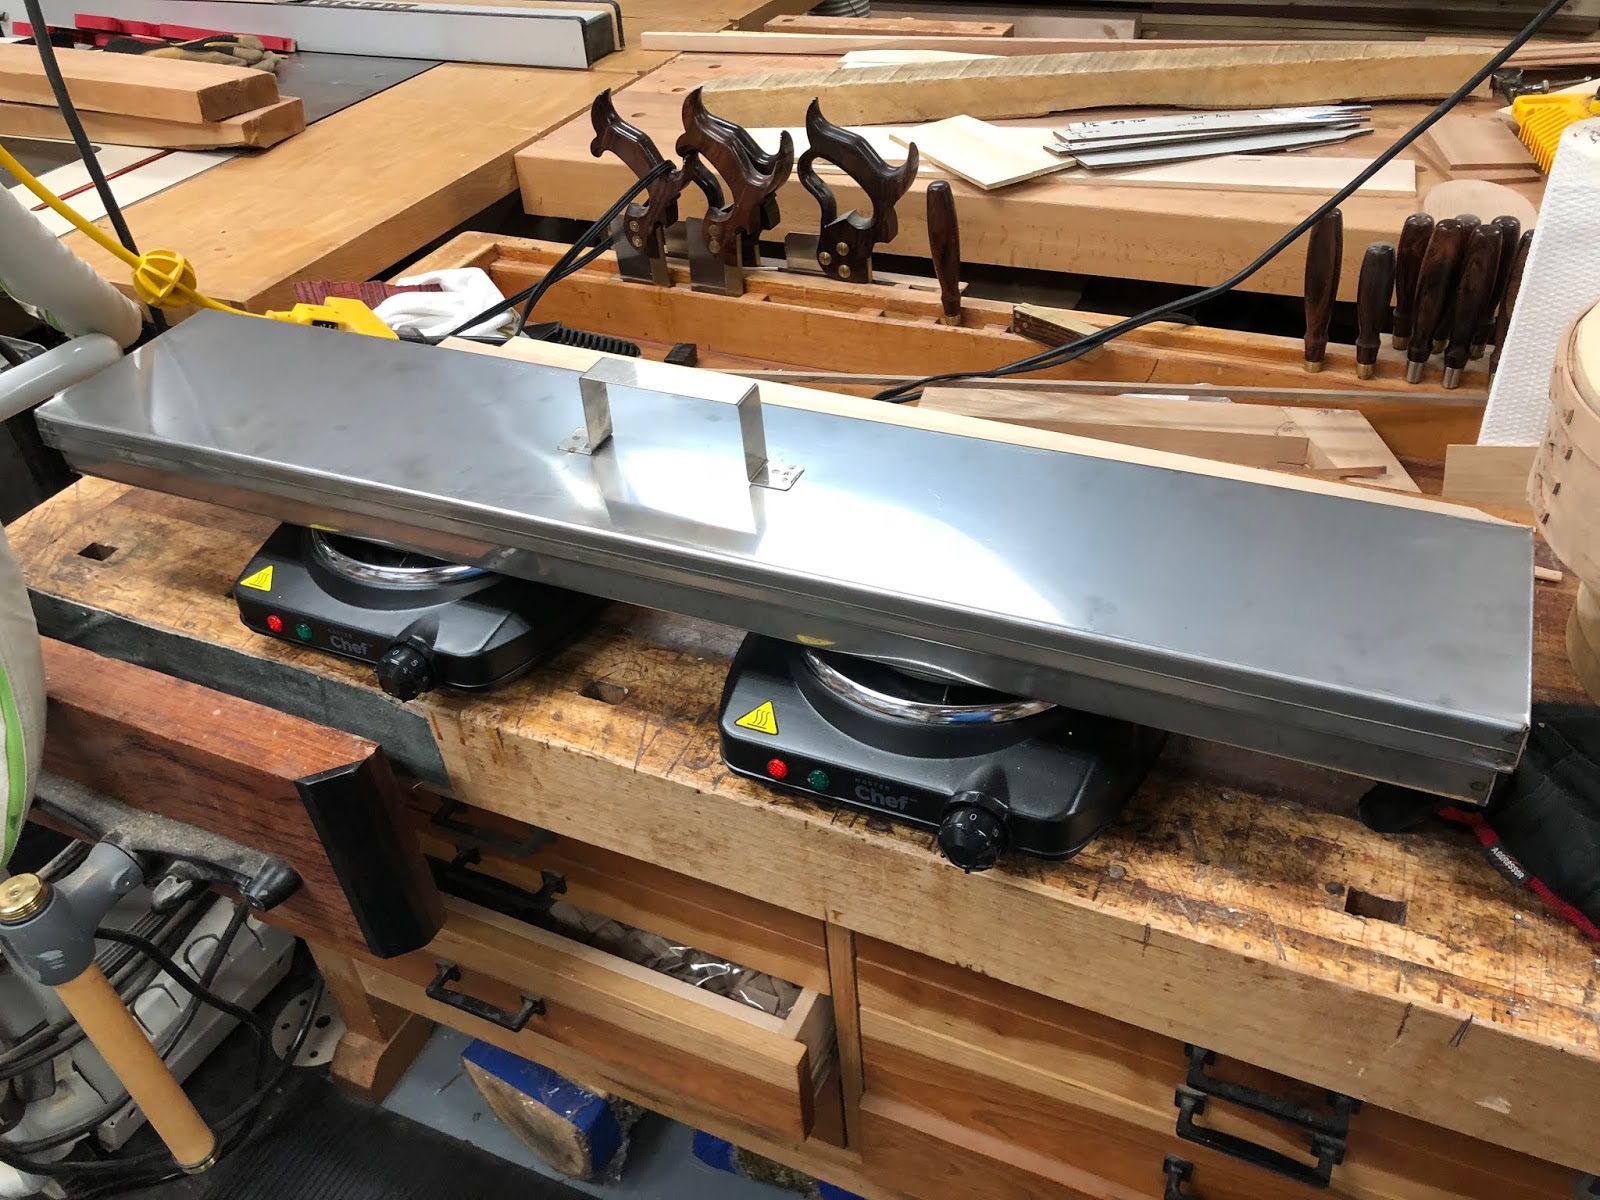
| Surfacing the rings to provide 2 surfaces suitable for gluing. |
The final prep phase of the rings is to run them through the thickness sander to give me a smooth surface for gluing. I also trim them more or less round on the disc sanding, eliminating the protruding corners makes tearout less likely when turning.
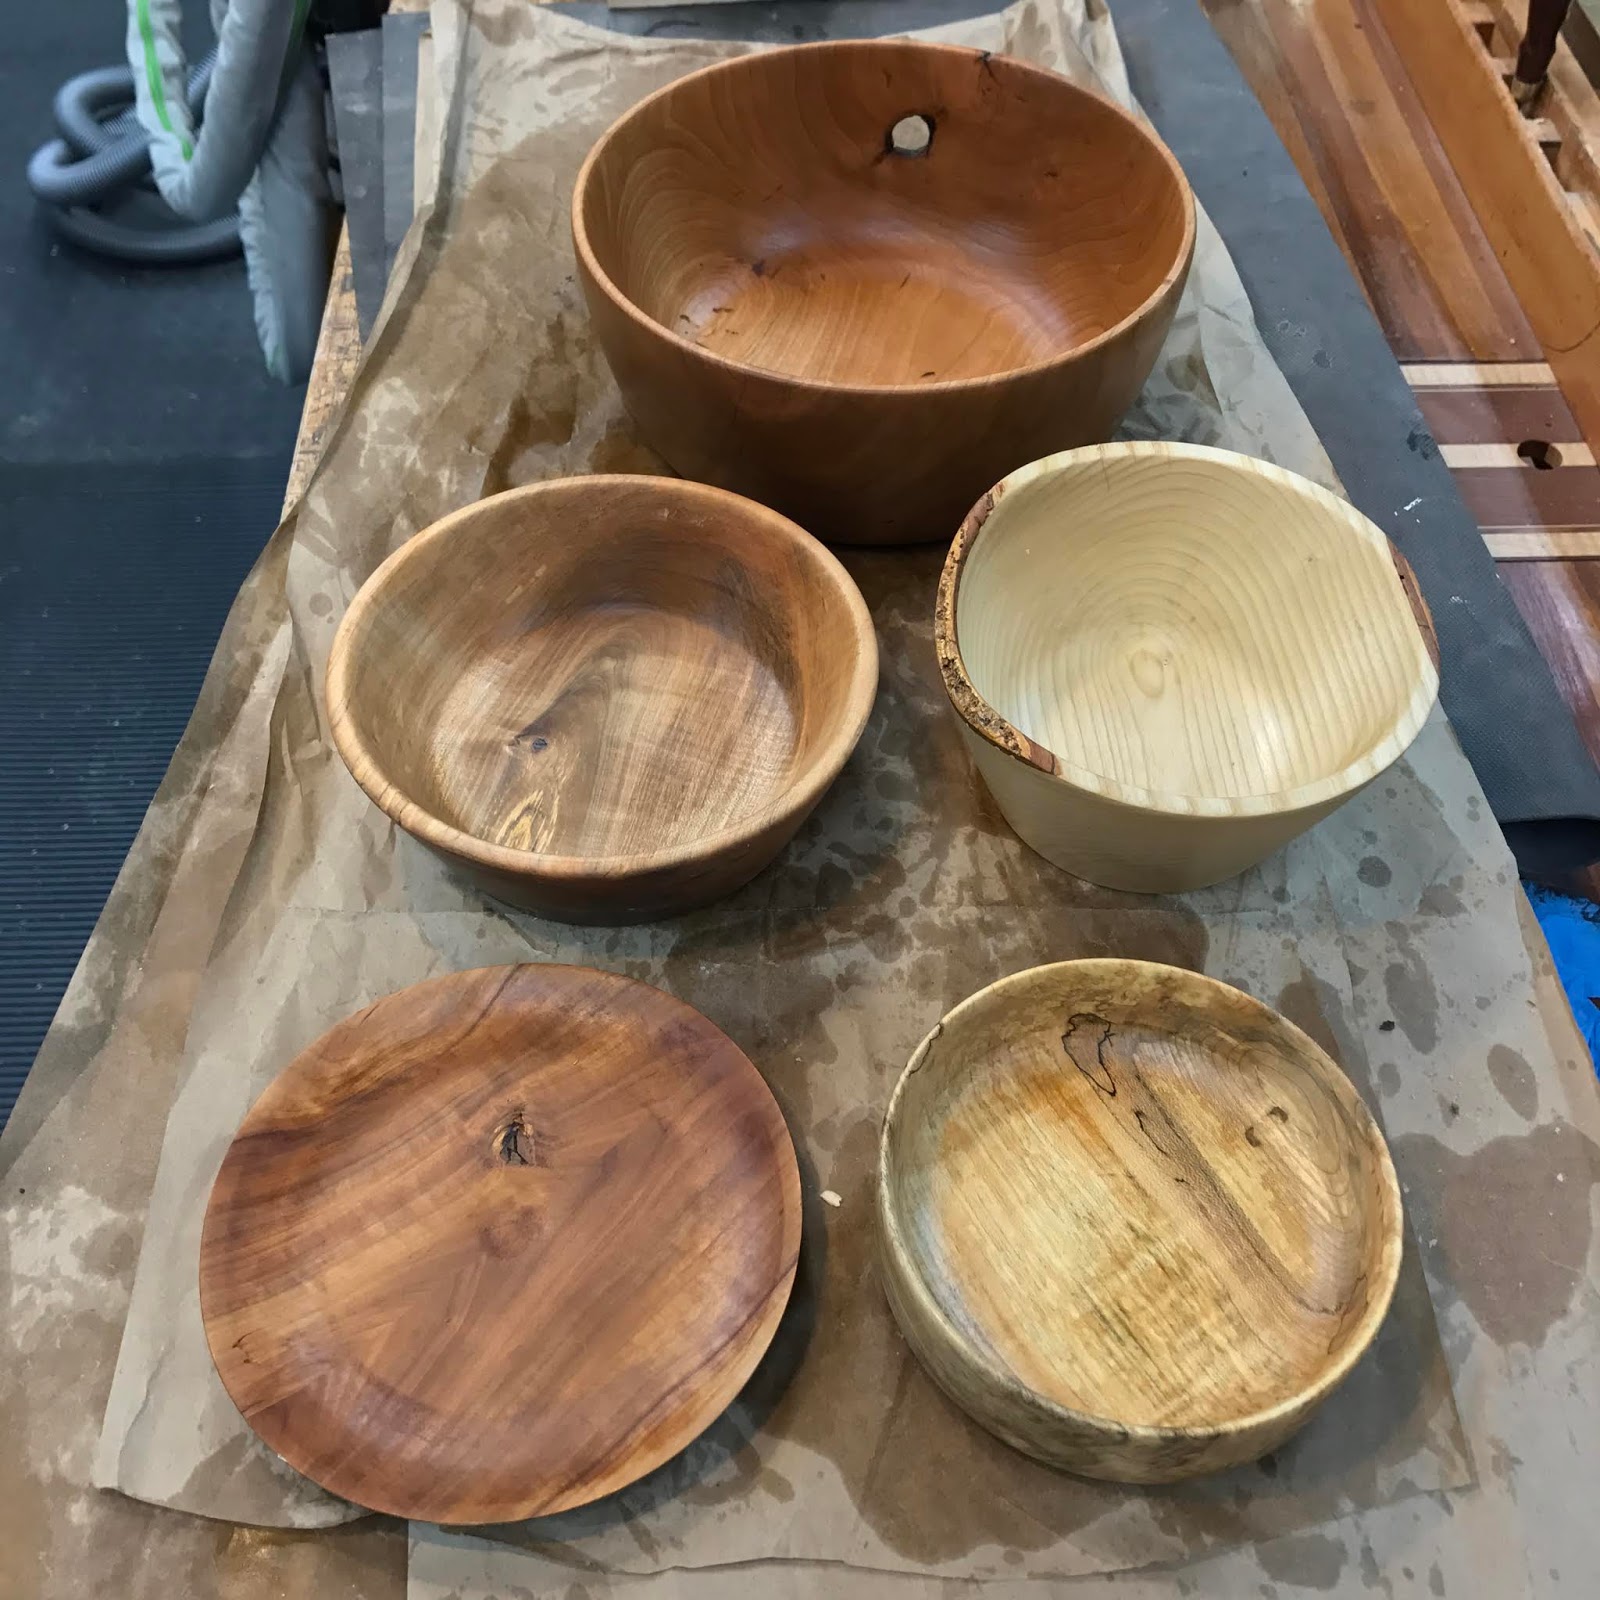
I am not going to focus on the actual turning process as there are plenty of resources out there to help. Below are a few examples of the work I have done using this method, in my mind it is a very efficient use of materials.
 |
| Walnut Salad bowl from Maloof chair offcuts |
 |
| Kitchen implement holder from Cherry offcuts. |
 |
| A 14" Salad bowl from Rocker Offcuts. |
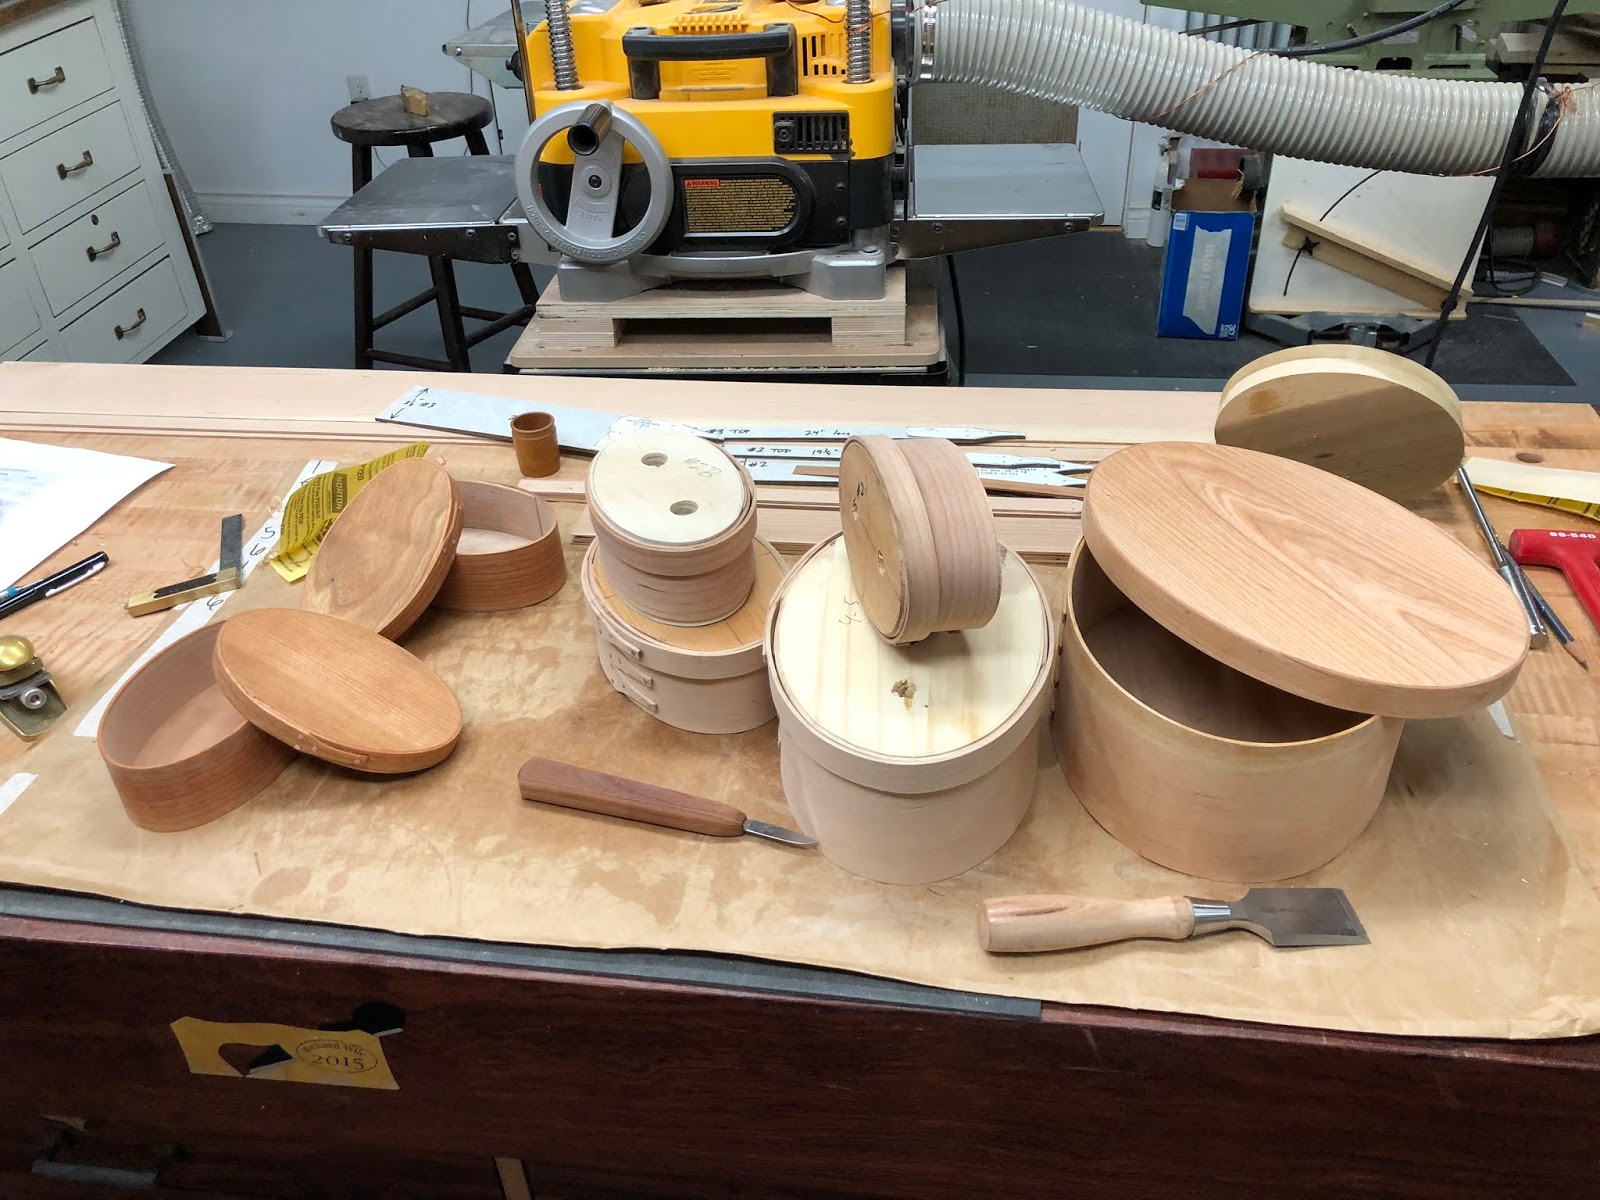
In the beginning of the piece I mentioned two methods of using up scrap material, the next blog entry will focus on another technique to utilize leftover bits - Shaker Oval Boxes.